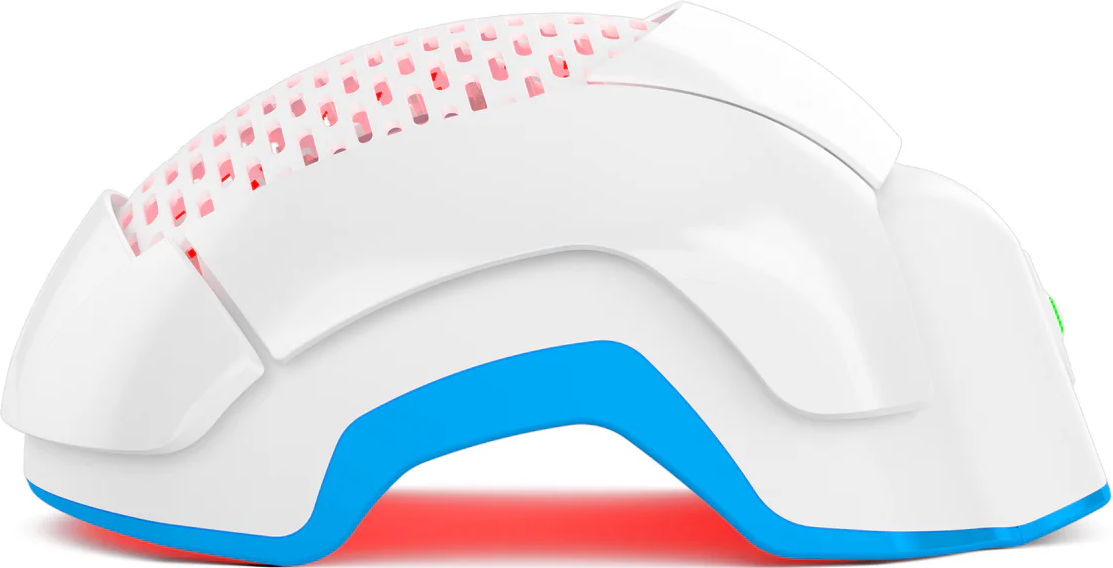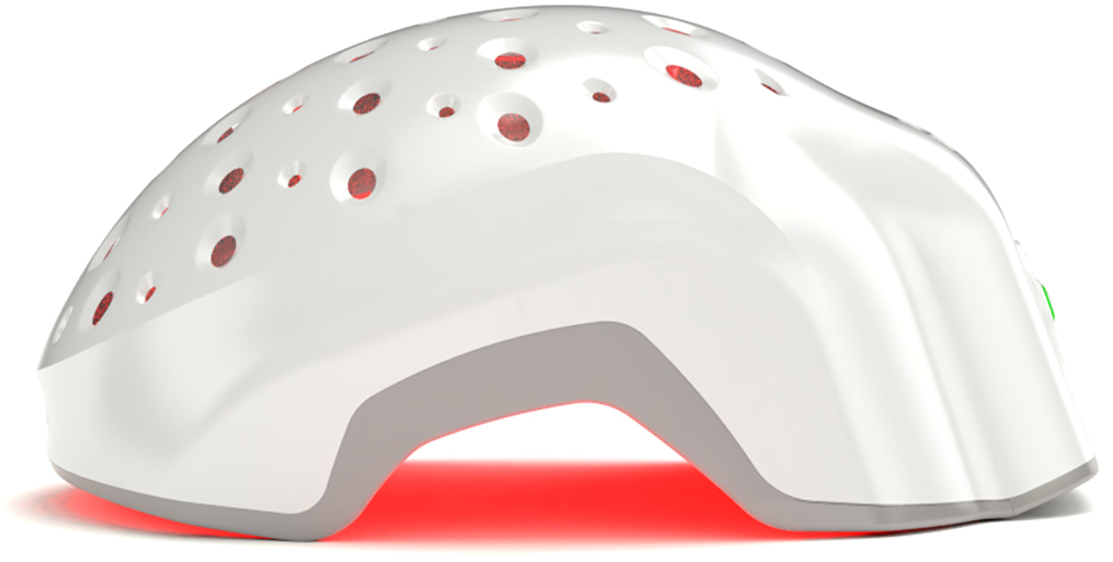


Beginning your hair restoration journey with Theradome is easy. Twenty minutes, twice a week sessions is all you need to reverse your hair loss. It's completely straight forward, you simply put on your laser hair therapy helmet and sit back while you read a book or turn on your favorite TV show.
Taking hair loss before and after photos, with plenty of progress shots along the way, is a bit more complicated, but well worth the effort. You want to make sure you're seeing results after all!
Chances are you look at yourself in the mirror every day, and, just like weight loss, you won’t notice all of the small changes when it comes to new hair growth. This is why documenting your progress by taking photos is a critical component of conducting hair growth treatments with Theradome. Otherwise, you will fail to notice any hair growth changes and overall improvement in the quality of your hair and scalp. Doing this will allow you to not only track your results but also share them with our Theradome experts for advice or show them to your physician if you are combining other hair loss treatments with laser hair therapy.

It goes without saying that all your photos should be of high quality, and you’ll need to be thinking about a variety of factors, such as background, lighting, positioning, and camera angles. So to make your life easier, we’ve put together a list of tips and practices that you’ll need to observe when photographing the evolution of your Theradome laser hair therapy journey. To make things easier, high-quality images are now more accessible since you can use your smartphone without investing in expensive camera equipment.
Here are 4 tips for taking the best hair loss before and after photos!
1. Choose a Plain Background
The background of your photos is one of the most important choices to make. This is not the place for your grandmother’s handmade flowery quilt or that 1970s zebra-pattern rug! Bright-colored and dark backgrounds (including animal prints) can create undesirable contrast and reflecting effects that compromise the quality of your progress photos.
We always recommend using a white, beige, or neutral-colored background, however boring that might sound. You can get creative by improvising your own professional backdrop. You can always hang a light-colored sheet on the wall behind you with sticky tape or Velcro.
The goal is to avoid any complicated patterns that will interfere with your (or your physician’s) ability to analyze your progress and alter your laser hair therapy course of treatment if required.
The same goes for any hair accessories. Ladies, please refrain from adding any colorful bows, frills, 1920s headpieces or other decorations. These might distract from the real focus, your hair! Keep your new, fuller hair in the spotlight and avoid anything that might outshine it. Which gets us to our next tip.
2. Get the Lighting Right
Lighting is one of these variables where more is not necessarily better. Artificial light from a camera flash is the worst culprit when it comes to poor hair loss before and after photos. It creates glare, which can make it hard to compare photos as you progress on your journey.
Natural lighting makes for the best clinical photos! So pick a spot in your house that's well-lit without receiving direct sunlight. It helps to keep in mind where the camera is in relation to the light. You want the light coming from behind the camera, shining towards you. That means no standing right in front of the window with the sun coming in behind you. That causes shadows, which can obscure your photos.
3. Position Yourself Correctly
You want to make sure you can get the proper angle and get your whole yourself, it's helpful to use a selfie stick to hold the camera for you. However, the simplest solution is to have a friend or family member take a photo of your scalp in the frame. If you're taking your hair loss before and after photos.

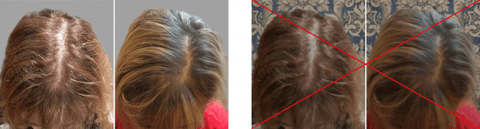
The camera should be around 18” away from your head (or close enough to capture the entire scalp)and held at approximately a 45° angle. Using zooming features is also acceptable, as long as your entire head is photographed and all future photos are taken with the same method. We recommend taking at least three shots to thoroughly document your hair restoration progress. These include the front, the back, and the vertex (the crown of your head).
3 Key Position for Your Photos
For frontal photographs, your head should be tilted forward (see the example shot for reference) while the camera is positioned at the front. In terms of rear photographs, your head should be tilted backwards slightly with the camera positioned behind you. For vertex shots, shoot directly from above. Make sure you have a steady grip on the camera so your photos are crystal clear, without any blurring.
4. Consistency is Key

Finally, with all of the above, remember that consistency is critical. Make a habit of following a standardized procedure, as outlined here, to ensure the results of your clinical photographs are consistent. Always look at your last progress picture before taking the next one as a reminder of what you're replicating. Additionally, make a habit of looking at your before-and-after pictures in the same room with the same lighting. That way, there won't be any new interferences or shadows that make the photos harder to compare.
It’s important that hair loss before and after photos are all taken with the same positioning, camera settings, hairstyle, lighting, and background. Tweaking these variables throughout your hair rejuvenation journey will create a mix of unclear results. This will make it harder to gauge how much progress you've truly made.
Good luck and don’t forget to take pictures at least once a week! Loving your results? Share your hair loss before and after photos with us so we can feature you on our reviews page!